
To get started with pochoir street art, all you need is a design or image that you want to turn into a stencil. This can be anything from a simple silhouette to a detailed illustration. Once you have your design, print it out or draw it onto a sheet of sturdy paper or stencil material. Make sure to use a sharp knife or stencil cutter to carefully cut out the different parts of your design.
Once your stencil is ready, find a suitable location for your artwork. It could be a blank wall, a sidewalk, or even a canvas if you prefer. To create your artwork, simply place the stencil onto the surface and secure it in place with tape or adhesive. Then, using a spray paint or brush, fill in the cut-out areas of your stencil with your chosen colors. Be sure to hold the spray paint or brush at a distance to create a clean and crisp look.
After the paint has dried, carefully remove the stencil to reveal your pochoir street art masterpiece! You can then add any additional details or touch-ups if desired. Whether you’re creating a small design on a city wall or a large mural in a public space, pochoir street art is a versatile and accessible form of artistic expression that anyone can enjoy. So grab your stencil and start creating your own unique street art today!
1. Stencil
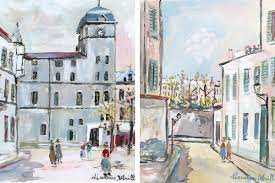
The most important tool for pochoir street art is a stencil. This can be either pre-made or hand-cut. Choose a design that speaks to you and represents the message or image you want to convey.
2. Spray Paint

Spray paint is the ideal type of paint to use for pochoir street art because it provides a quick application and vibrant colors. Pick high-quality spray paint in the colors you desire for your artwork. Make sure to choose colors that will stand out against the surface you plan to paint on.
3. Masking Tape

To keep your stencil in place while you paint, you’ll need to use masking tape. This will prevent the stencil from moving or shifting and ensure clean lines in your artwork.
4. Newspaper or Cardboard
Protect the surrounding area and any surfaces you don’t want to get paint on by laying down newspaper or cardboard. This will catch any overspray and make cleanup easier.
5. Protective Gear
Lastly, wear appropriate protective gear like gloves and a mask to protect yourself from fumes and paint splatter. Safety should always be a top priority.
Once you have gathered all of these materials, you’ll be ready to start creating your pochoir street art. Remember, art is a form of self-expression, so let your creativity flow and have fun with your project!
Choose Your Design
When creating your own pochoir street art, one of the most important steps is choosing the right design. There are countless options to choose from, so take your time and consider what will work best for your desired outcome.
Here are a few tips to help you choose your design:
1. Consider the Location
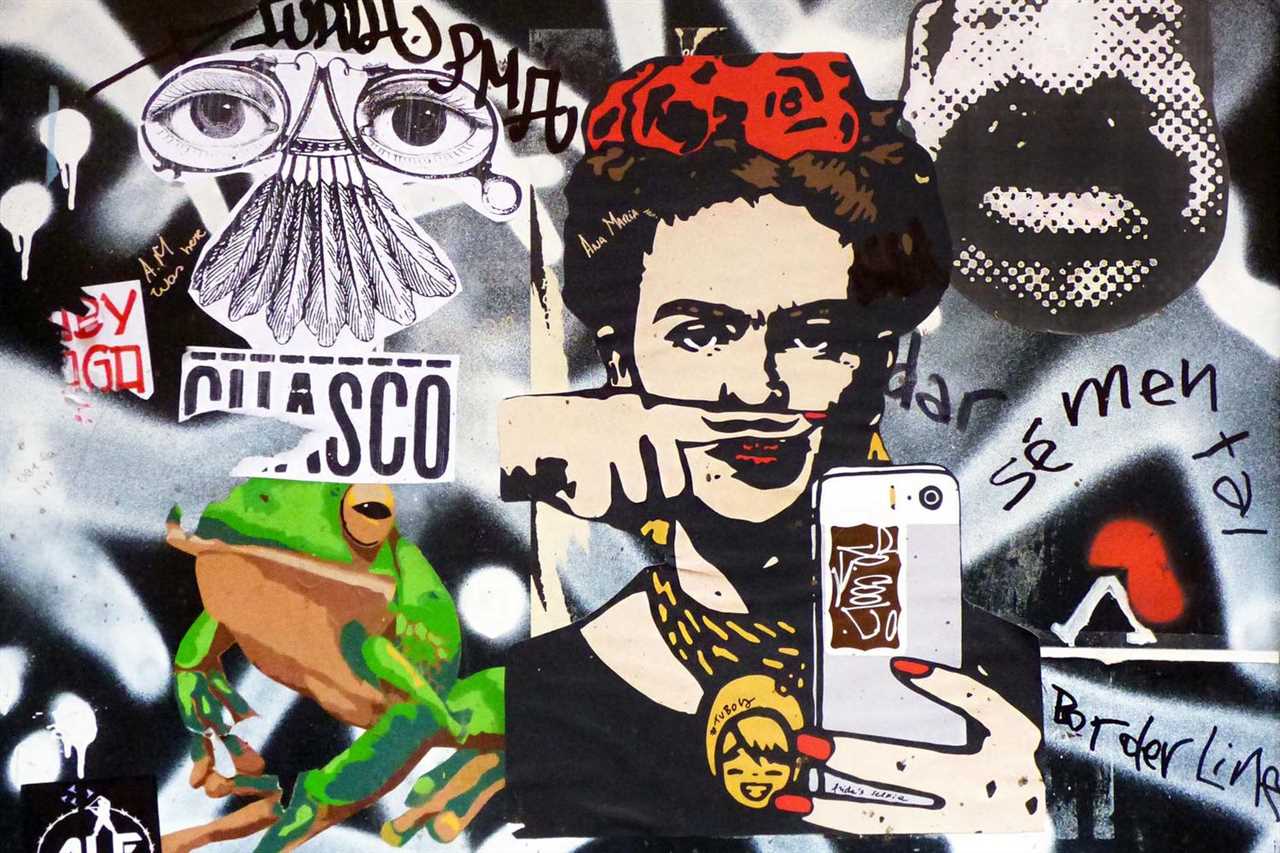
Think about where you plan to create your pochoir street art. Is it a busy street, a quiet alley, or a public park? The location can influence your design choice. For example, if you’re creating art in a crowded area, you might want to choose a bold and eye-catching design that grabs people’s attention. On the other hand, if you’re painting in a park, a more subtle and serene design might be a better fit.
2. Reflect Your Style
Your pochoir street art is an expression of your creativity and personal style. Choose a design that reflects who you are and what you want to convey through your art. Whether you prefer abstract shapes, realistic portraits, or intricate patterns, make sure your design aligns with your artistic vision.
Remember, the design you choose will be the foundation of your pochoir stencil, so make sure it’s something you’re passionate about and excited to bring to life.
Prepare Your Surface
Before you begin creating your pochoir street art, it is important to prepare your surface properly. The surface you choose will greatly impact the final outcome of your artwork, so take your time to ensure it is clean and smooth.
Start by cleaning the surface with soap and water to remove any dirt or debris. Use a scrub brush or sponge to scrub away any stubborn stains. Rinse the surface with clean water and allow it to dry completely.
Next, sand the surface to create a smooth texture. Use a fine-grit sandpaper and sand in a circular motion to even out any rough areas. Be sure to sand gently and avoid applying too much pressure, as this can damage the surface.
Once you have finished sanding, wipe away any dust with a clean cloth or brush. This will ensure that the surface is ready for the next step.
Finally, apply a coat of primer to the surface. This will create a smooth and even base for your artwork. Choose a primer that is suitable for your surface material, such as metal, wood, or concrete. Follow the manufacturer’s instructions for the application and drying time.
By taking the time to properly prepare your surface, you will ensure that your pochoir street art lasts longer and looks more professional. So, before you start painting, make sure your surface is clean, smooth, and primed for success!
Secure Your Stencil
Choose the Right Surface
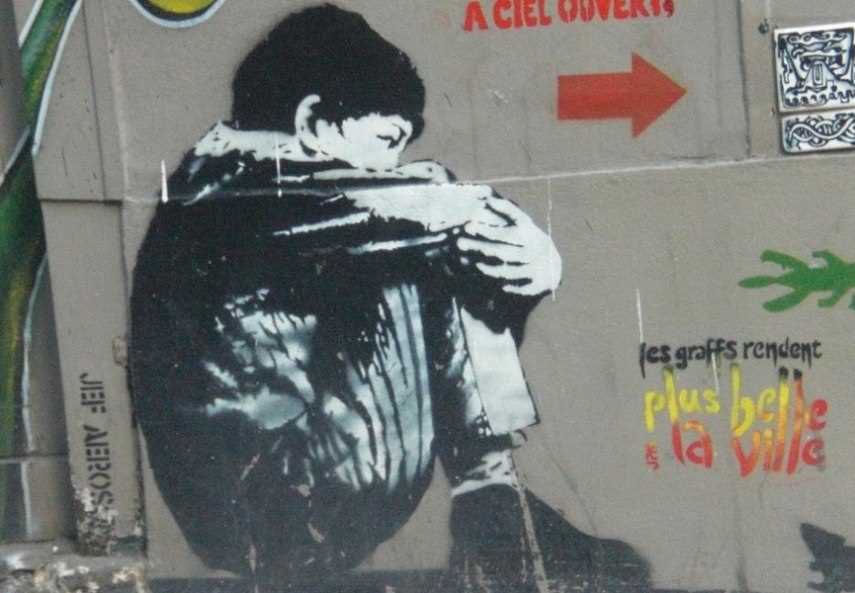
First, make sure you choose a suitable surface for your street art. Look for a wall or other flat surface that is clean and free of dirt or debris. Avoid surfaces that are uneven or textured, as this can affect the quality of your stencil art.
Use Spray Adhesive
One effective way to secure your stencil is to use spray adhesive. Apply a thin layer of spray adhesive to the back of your stencil, then carefully press it onto the surface. Make sure to hold the stencil firmly in place for a few seconds to ensure it adheres properly.
Be sure to follow the instructions on the spray adhesive can, as different brands may have slightly different application techniques. It’s also a good idea to test the adhesive on a small, inconspicuous area before applying it to your stencil.
Tip: If you don’t have spray adhesive, you can also use masking tape or painter’s tape to secure your stencil. Just make sure to press the tape firmly onto the surface and smooth out any wrinkles or bubbles.
Note: Remember to use caution and consider the legal and ethical implications of creating street art. Always obtain permission if necessary and respect public and private property.
Apply Your Paint

Once you have prepared your stencil and gathered your materials, it’s time to apply the paint to create your pochoir street art masterpiece. Here are some tips to help you get started:
1. Choose your paint: Selecting the right paint is crucial for achieving the desired effect. You can use acrylic paint, spray paint, or even fabric paint depending on your preference and the surface you are working on.
2. Prepare your paint: If you are using acrylic paint, make sure to mix it well and thin it slightly with water for smoother application. For spray paint, shake the can vigorously to ensure an even spray pattern.
3. Protect your surroundings: Lay down a drop cloth or newspapers to protect the area around your work space from accidental paint splatters.
4. Position your stencil: Carefully place your stencil onto the surface you want to paint. Use painter’s tape or adhesive spray to secure it in place if necessary.
5. Apply the paint: Using a brush, sponge, or spray can, start applying the paint onto the stencil. Start from the edges and work your way towards the center for better control and to avoid smudging.
6. Layer the colors: If you want to add depth and dimension to your artwork, consider using multiple layers of paint in different colors. Allow each layer to dry before applying the next one.
7. Remove the stencil: Once you are satisfied with the paint application, carefully remove the stencil while the paint is still wet. Peel it off gently to avoid smudging or smearing the design.
8. Clean up: Clean your brushes, sponges, and spray cans immediately after use to prevent the paint from drying and ruining your tools. Use soap and water for acrylic paint and solvent for spray paint.
Remember, practice makes perfect. Don’t be discouraged if your first attempts don’t turn out exactly as you imagined. With time and experience, you’ll become more skilled at creating stunning pochoir street art.
Remove the Stencil
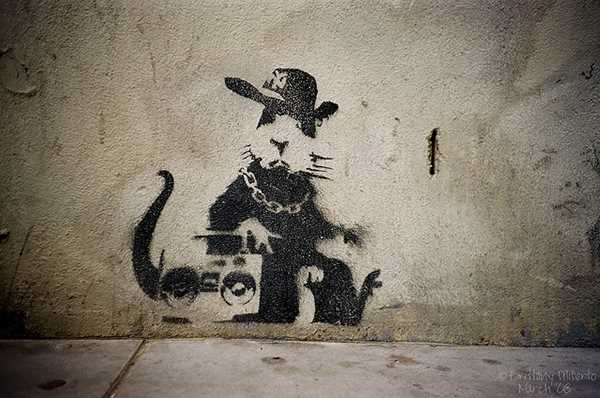
Once the paint has dried, it’s time to remove the stencil. Carefully lift the edges of the stencil, starting from one corner, to avoid any smudging or smearing of the paint. Use a gentle, upward motion to lift the stencil away from the surface.
If you encounter any stubborn areas where the paint has seeped under the stencil, use a small, pointed tool like a toothpick or a cotton swab to carefully clean up the edges. Be patient and take your time, as rushing this step can lead to mistakes and imperfections in the final artwork.
Once the stencil is completely removed, take a step back and admire your work. The crisp, clean lines and vibrant colors of pochoir street art are sure to make a statement and captivate anyone who sees it.
Remember, practice makes perfect, so don’t be discouraged if your first attempt doesn’t turn out exactly as planned. With time and experience, you’ll be able to refine your technique and create stunning works of art using the pochoir method.
Let It Dry
It is crucial to ensure that the paint is completely dry before removing the stencils to avoid smudging or ruining your artwork. To speed up the drying process, you can use a hairdryer or a fan to create airflow. However, be careful not to blow the paint around or apply too much heat, as this may cause the paint to crack or become discolored.
Once you are confident that the paint is dry, gently peel off the stencils using a pair of tweezers or your fingers. Start at one corner and slowly lift the stencil away from the surface, being careful not to smudge the surrounding paint. If the paint starts to lift or peel off with the stencil, it means it hasn’t dried completely, and you should wait a little longer before attempting to remove the stencil.
Show Off Your Artwork
Once you’ve completed your pochoir street art masterpiece, it’s time to show it off to the world! Whether you want to share it with your friends and family or display it in a public space, here are some great ways to showcase your artwork:
1. Social Media

Share your artwork on your favorite social media platforms, such as Instagram, Facebook, or Twitter. Use relevant hashtags to increase the visibility of your artwork and gain a wider audience. Don’t forget to tag other artists or street art enthusiasts who might appreciate your work!
2. Art Galleries
Contact local art galleries and see if they would be interested in displaying your pochoir street art. Many galleries are open to showcasing unconventional art forms and street art, so don’t be afraid to reach out and inquire about potential opportunities.
3. Street Art Festivals
Look for street art festivals or events happening in your area. These events often provide space for artists to showcase their work and connect with other like-minded individuals. Participating in street art festivals can also help you gain recognition within the street art community.
4. Collaborations
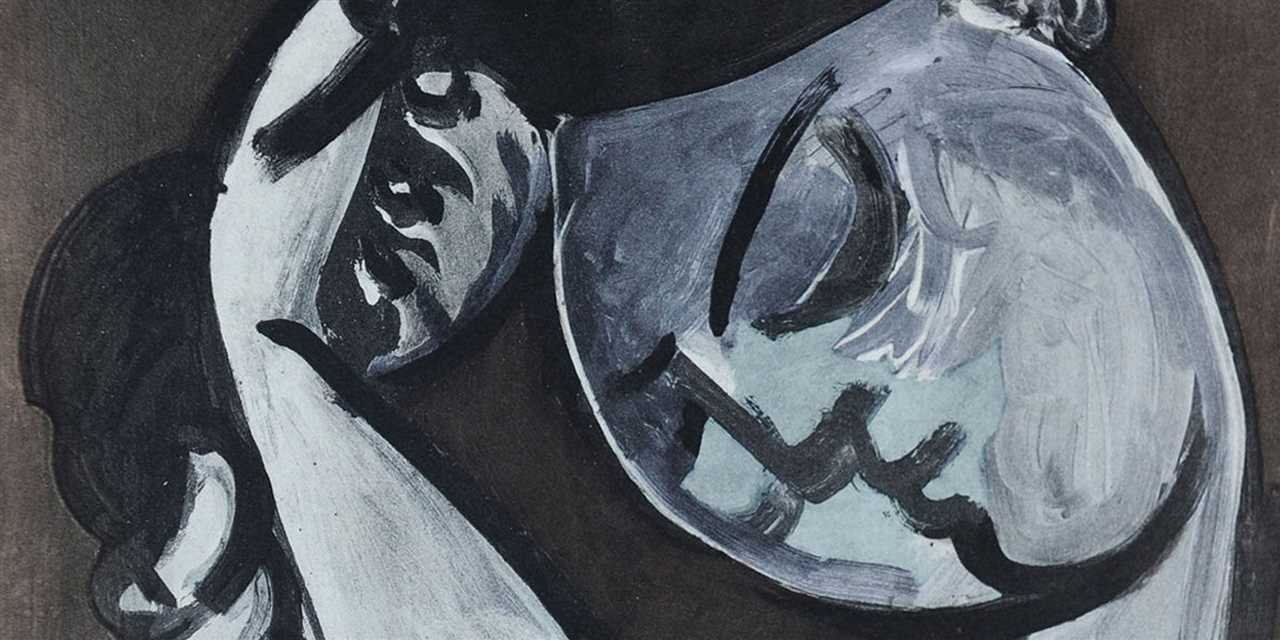
Collaborate with other artists on joint projects or exhibitions. Working with other artists can not only provide new perspectives and inspiration but also help expose your artwork to a different audience. It’s a win-win situation for both parties involved!
Remember, showing off your artwork is an essential part of being an artist. It allows you to receive feedback, gain recognition, and inspire others. So, don’t be shy about sharing your pochoir street art with the world!

I am a mural enthusiast and a fervent admirer of street art. Rather than creating murals myself, I am passionate about collecting them. My love for street art knows no bounds. I am dedicated to curating and cherishing these artworks that grace the streets. My collection stands as a testament to my profound appreciation for this form of artistic expression.
read about me


